
Click the photos to enlarge
 |
| Melinda and "Uncle Neighbor" |

The daughter of our good friend's and neighbor's, Melinda, recently finished her teaching credential program and accepted a 5th grade teaching position near Salinas, Calif. She asked if I would build a front facing bookcase for her new classroom. She thought it was a great idea to capture the attention of kids and spark their interest to read. I agreed, and then we both decided on size, material and finish.
 |
| Baltic Birch Plywood, 4/4 Maple and Plans |
I used the internet to get some ideas, and then along with Melinda's ideas and drawing, I sketched up a plan and made a pattern. A good friend that has a cabinet shop was able to donate materials for the project. He was generous enough to give a sufficient amount of 1/2 inch thick Baltic birch plywood and maple hardwood.
As the name implies, the birch is grown and the plywood is manufactured in the Baltic regions of Russia and Finland. It is a favorite of cabinetmakers because of the high quality birch and glued veneers without spaces or voids. The outside faces have a flawless smooth surface that finish nicely.
 |
| Measuring and cutting the sides to length |
All the parts were cut to their finished sizes using the table saw. I'm sometimes asked by people,"What piece of woodworking equipment should I buy first?" My answer is the table saw. It is the heart of any woodworking shop. The various operations the table saw can perform efficiently and accurately are too numerous to list here.
 |
| Cutting the Tapered Angle on the Side |
 |
| Router with Rounding Over Bit |
 |
| Shelves and Backs forming "Steps" |
 |
| Pocket Screw Jig |
 |
| Assembling Shelf to the Back |
The assembly began with attaching the shelves to the backs. Pocket holes were drilled on the underside of the shelf and then fastened with glue and screws. Using the pocket hole jig and stopped drill is a fast and efficient method of joinery. The jig allows the hole to be drilled at the correct angle and depth.
Once the shelves and backs were put together, they were all joined to form the "steps" with glue and screws. I left all the screws exposed because they would only be seen from the backside of the bookcase. The final assembly step was to attach the sides to the "steps" using glue and screws from the backside.
I did some final sanding and applied three coats of clear polyurethane for a semi-gloss finish.
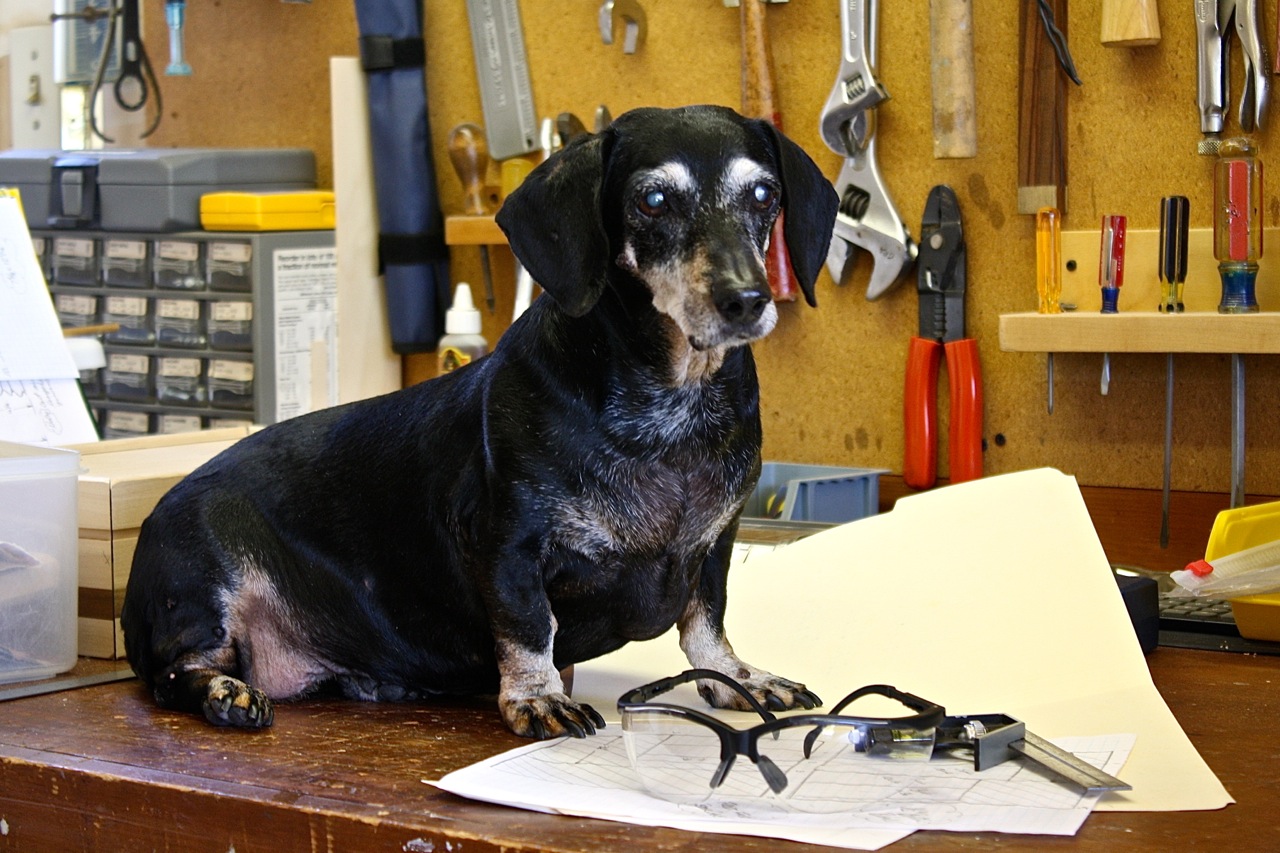
Lucy, my shop assistant, provided me invaluable help during the construction of the project. Her attention to detail was indispensable.