Craftsmanship in a Garage

Craftsmanship in a Garage

Wednesday, February 26, 2014

Making a Maple Mallet


Click the photos to enlarge...

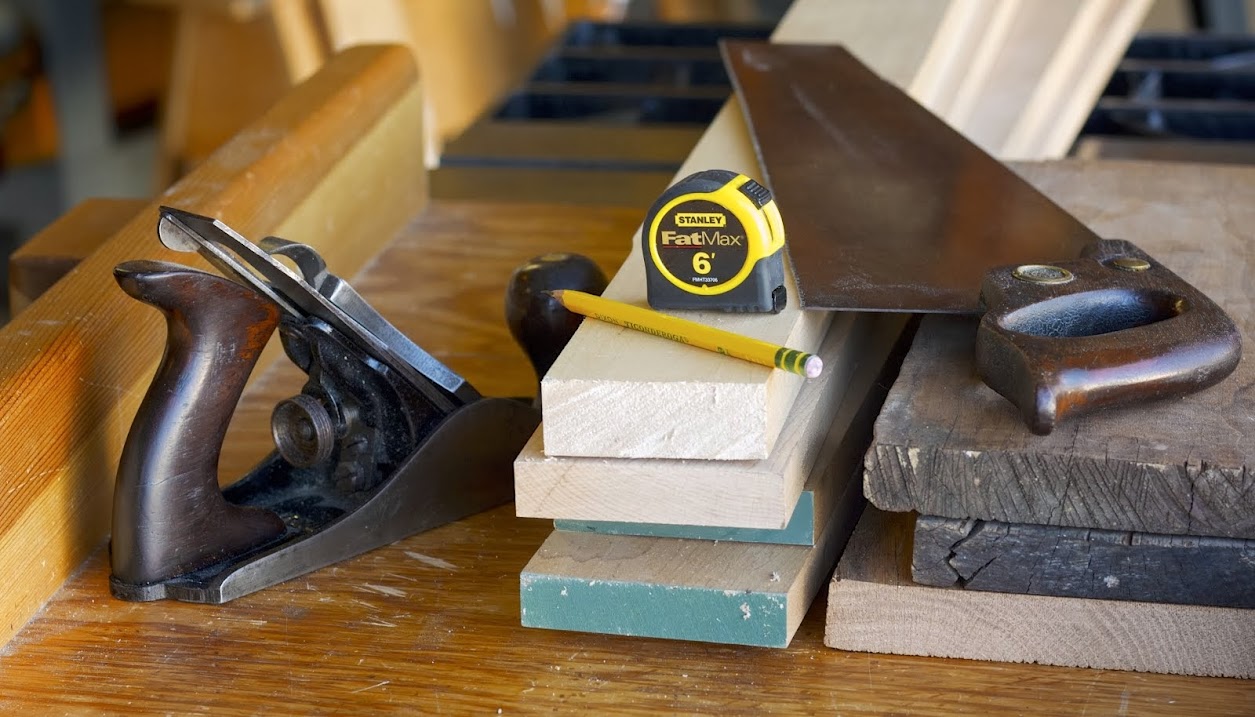
A sturdy mallet is an essential tool in hand woodworking. I started by using an old "yard sale" rawhide mallet that was OK for light work, but lacked sufficient force for other applications. Making my own mallet was a great exercise in handwork. Careful layout, sawing, planing, and joining were necessary to complete the project.
I found a plan on the internet, gathered some sturdy dense maple hardwood and began the project.

First step was to face glue two pieces of 6/4 maple to form the mallet head. I squared and dimensioned the block with the hand saw and jack plane.

Squaring the Mallet Head with the Smooth Plane
The next step was to cut a mortise through the head to accommodate the handle. This operation was a real challenge. I had to cut through dense maple hardwood and taper the mortise to create a fit for the handle. I used a brace and bit to bore out some of the material. Sharp chisels and patience finished the mortise.

 Mortise on the Mallet Head
After finishing the mortise, the head was cut to the finished length. The ends of the head were tapered and a decorative arch was planed on the top of the block.

Crosscutting the Head to Length
Tapering the End of the Block

Planing an Arch on the Top of the Head
Finally, I put a slight chamfer on all the edges for decoration and to prevent the corners from chipping.
After some final sanding, the mallet head was set aside.
Block Plane used to Chamfer the edges.
The handle was worked on next. A piece of 4/4 maple was cut to length and surfaced to 3/4" thickness using the Jack Plane. 
Surfacing the Handle with a Jack Plane
Freehand Cutting with the Band Saw
The Band Saw was used to rough cut the handle taper and  width.

Low Level Block Plane Shaping the Taper

The Low Level Block Plane was used to shape the handle taper and to smooth the curve. 

Spokeshave
I used a spokeshave to shape a chamfer on the corners of the handle for a comfortable grip.

After fitting the tapered handle into the matching taper on the head, the mallet was lightly sanded and three coats of Tung Oil applied.


The reward of my effort is a mallet with a custom-fit grip and the pleasure of having built a useful tool that will see years of use.


Monday, July 8, 2013

Retirement Gift


Click Photos to Enlarge


I built this box as a gift for a good friend of mine who recently retired from teaching. Mike was a vocational education teacher and we taught next door to each other for 30 years.

 I chose to make to make the sides and ends out of cherry and the top and bottom out of maple. The two woods make a nice contrast. People often ask me how I determine the size of the boxes I build. There is really is no magic formula... I choose the size by lumber left over from previous projects.

Materials and Plans for the Box

 I needed to resaw and edge glue maple for the top and bottom. Resawing is cutting a thick board to create two thinner pieces. I like to use the band saw set up with a guide that provides added control when resawing. The top and bottom parts were glued and clamped edge to edge to increase the width.

Resawing with the Band Saw

Top and Bottom Parts Glued and Clamped

Next, all the parts were surface planed, ripped to width, and crosscut to length. I chose to use box joinery to assemble the sides and ends. Interlocking the parts and the additional glue surface makes the joint very strong. In addition, I'm partial to exposing and celebrating the joinery. A previous post shows how the box joints were made using a special jig setup on the table saw. Once the parts were dry assembled to check the fit, the box was glued and clamped.

Box Joint Sample

Often lessons are learned the hard way... There is always a small amount of glue that squeezes out after clamping. On the outside corners it isn't a problem to scrape and clean the dried glue. Inside corners are are more challenging. I tried wiping the wet glue with a damp cloth and it smears. Trying to scrape the dried glue is difficult too. Now I place two pieces of masking tape adjacent to each other in the corner and the glue will squeeze on to the tape. When the tape is lifted off, the glue comes with it. Works great.

Glued Box Joints with Tape in the Corners to Collect Glue 

Next, the maple top and bottom were glued and clamped to the side and end assembly. The maple top and bottom were cut slightly oversized so they could be trimmed flush to the sides with the router. The top is then cut from the box body on the table saw. Four cuts are made around the box to separate the top from the body. A short cove was cut on the front top edge of the box to help when opening the top. The top was then delivered to the Clovis Woodshed for computer laser etching the text.

I chose Brusso butt hinges for the box. I learned about these from my good friend and fellow woodworker, Jay. These hinges are heavy duty and l like the way they hold lid when open. The quality of the hinges makes the expense worth it. Hinge mortises were cut and a slight bevel was cut on back of both the top and box. This a little trick Jay shared with me. It allows the hinge spine to fit flush with the back side of the box for a more finished look.


Marking the Location for the Brusso Butt Hinges

Cutting the Hinge Mortise
Before the hinges were attached, I sanded and applied the finish. The project was hand sanded using medium through fine grit sizes. The term "grit" refers to the texture of the sand paper. Care is taken to remove any surface defects that could effect the quality of the finish. The finish I chose was semi-gloss gel polyurethane. This finish is so easy to use... rub it on and buff with a clean soft cloth. Three coats resulted in a durable hand rubbed finish.

The gift was well received by Mike. It was a pleasure to build and share the keepsake box.


Tuesday, April 16, 2013

Shaker Bench Built with Hand Tools

Click the photos to enlarge...


I found the plans to this bench in the Feb 2013 issue of Fine Woodworking Magazine. The stool is inspired by the simple clean lines and functionality of Shaker design. Even though the "classic era" of shaker design was mid-19th century, it has evolved to reflect a contemporary design that has influenced my woodworking. The bench was a challenge because it involved dado, mortise and tenon and dovetail joinery. Also, the bench was crafted using hand tools only...no machinery or power tools. Old School!

I chose Sugar Pine for the project because it cuts and shapes easily with hand tools. I prefer to use domestic lumber from managed sustainable forests.


The lumber was purchased surfaced to 3/4 in. thickness so planing the thickness wasn't necessary. I started by hand sawing the lengths. Next, the widths were cut by hand. I left a small amount of material on each edge that was planed smooth and square with a smooth plane and block plane.

Marking Gauge used to Mark the Tenon Length
Try Square Used to Mark the Tenon Width
Removing the Waste Between the Tenons
The legs were worked on next. A decorative arch was cut with a coping saw on each leg and a pair of  tenons were cut to fit the mortises that joined the top. After laying out the tenons, the outside shoulders were cut out with the dovetail saw. Once again the dovetail saw was used to cut the inside shoulders and the waste between the two tenons was removed with a chisel.

Top with Dado and Mortise Joints Cut
After the legs were finished, I started the top. The first step was to cut a dado joint 1 1/2 in. from the end and 1/8th inch deep. The purpose of the dado is to align the leg and prevent it from cupping. The mortises were cut to receive the leg tenons. Careful attention was necessary to align the leg and top to match mortise and tenon.  Both the dado and mortise were cut with the knife and chisel utilizing the knife wall technique explained in a previous post.

Braces cut to length with the Hand Saw and Miter Box
I have an interesting story about the hand saw shown above. A number of years ago we were visiting my wife, Susan's aunt in Riverside, California and she mentioned that there were some old hand tools in the garage that none of the family members seemed interested in. Some time later this particular saw interested me because it was designed for finish carpentry work. As I cleaned it up it revealed a beautiful walnut handle with brass fittings and more importantly, a trademark. I researched the trademark and discovered the saw was made by the Henry Disston & Sons Saw Works in Philadelphia and the trademark was used on saws manufactured from the 1860's through the 1880's. I took it to a saw shop for sharpening and was told that these saws are highly sought after because of their quality. I love to imagine the history of the saw, the men who used it and the work done with it. I feel I'm the caretaker of a legacy. 

Braces Cut to Size with the Dovetail Saw 
Cutting the Brace Dovetail on the Legs with the Dovetail Saw
Completed Dovetail Notches on the Top
The corner braces were dovetailed into the top and legs for strength. After the braces were cut, the next step was to mark and cut the dovetail notches that housed the braces.

Dry Fit Prior to Glue and Clamping.
After dry fitting the bench, a pair of kerfs were cut in each tenon to accept walnut wedges. The purpose of the wedges is to ensure the tenons fit tight. Once I was satisfied everything fit properly, the bench was glued and clamped. While the glue was still wet, the wedges were tapped into the kerfs. After the glue dried overnight, the protruding tenons, braces, and wedges were smoothed with a block plane. The bench was throughly hand sanded and a couple of coats of Tung Oil wiped on.

All in all this was a great project to build. It throughly tested my hand tool ability. The mortise and tenon joints are a little ragged, but I know I will improve with practice.


Sunday, February 10, 2013

Ava's Rockin' Pony


Susan recently suggested that our new granddaughter, Ava, should have a rocking horse. She googled  the internet and found a photo that could be easily converted to a dimensioned drawing. This particular design is perfect for toddlers. It's built with rounded edges and corners, back support, and will not tip over. A special gift from "grandpa & grandma." 

Ava on her Rockin' Pony

I started the plans with a sketch and then drew the project full size on butcher paper in order to get the proportions correct. As it turned out, I needed to change the original dimensions. I chose Maple hardwood for the project because of its durability, machines well and finishes nicely.

I made full size patterns out of hardboard for the rockers and pony head. This was useful as a guide for trimming and smoothing the curved edges with the router. Also a pattern for future rockin' ponies.


4/4 Maple and Patterns 

After all the parts were cut, the next step was to cut dado joints on the inside face of the rockers. The dado joints were used for strength and alignment for the cross braces. The router and dado jig provided the best method for completing the task.


Set up for Making Dado Joints


Assembly Process

Because this is a child's toy, I chose to use a non-toxic finish. I wiped on four coats of 100% Pure Tung Oil. I rubbed the surface with 0000 steel wool between coats. This was my first experience using Pure Tung Oil and I discovered that drying time was very lengthy. I did a little research and found that thinning with Citrus Solvent speeds up drying time and increases penetration. Citrus Solvent is also non-toxic and environmentally friendly.

Finish

This project turned out to be a fun build. I had great satisfaction building something for little Ava.


Sunday, January 13, 2013

Hand Tool Woodworking

This past fall I took a course in hand tool woodworking offered by the San Joaquin Fine Woodworkers Association. The course was 8 weeks in length and included 3 areas of hand tool woodworking... sharpening and tool restoration, cutting and shaping, and joinery.


We learned different methods of sharpening chisels and plane irons. The method that works best for me is using various grit sizes of wet/dry abrasives to sharpen edges razor sharp. The honing jig keeps a consistent angle and the tile slab provides a flat hard surface. Initially, a great deal of time was spent on restoring and  sharpening the tools.

Carving Out the Bowl with a Gouge

Cutting the Outside of the Bowl with a Coping Saw

Shaping the Stool Leg with a Spokeshave

Three Leg Stool
The cutting and shaping competencies were learned by completing the spatula, spoon, bowl, and the three leg stool.

Housed Dado Joint Knife Wall

Marking the Housed Dado Joint Depth with the Marking Gauge

Finishing Up the Housed Dado Joint


Completed Housed Dado Joint Project
The housed dado joint was the first joint covered in the joinery phase. 

Shaker Candle Box with Dovetail Joinery

Cutting the Kerfs for the Dovetail Tails with the Dovetail Saw

Completed Dovetail Tails

Completed Dovetail Pins
The last joint covered was the most difficult... the dovetail joint. Lots of trial and error... Much practice was required in the beginning to properly fit the "tails" and "pins."

The course has given me a renewed appreciation for the art and craft of hand tool woodworking. It continues to be very satisfying to master "old school" woodworking.