Craftsmanship in a Garage

Craftsmanship in a Garage

Tuesday, April 5, 2011

Toddler Stools


I recently built these toddler stools as a gift. Rich, a friend of our son Thad, and his wife, Joy recently had twin boys. Toddler stools make a neat and useful gift for kids especially when personalized with their names. The idea and pattern came from my good friend, Jay. The material is FAS 4/4 maple. I enjoy working with maple because it machines nicely, has minimal waste and leaves a nice smooth surface when finished. The photos can be enlarged by clicking on them.

Maple Boards glued for the End Parts


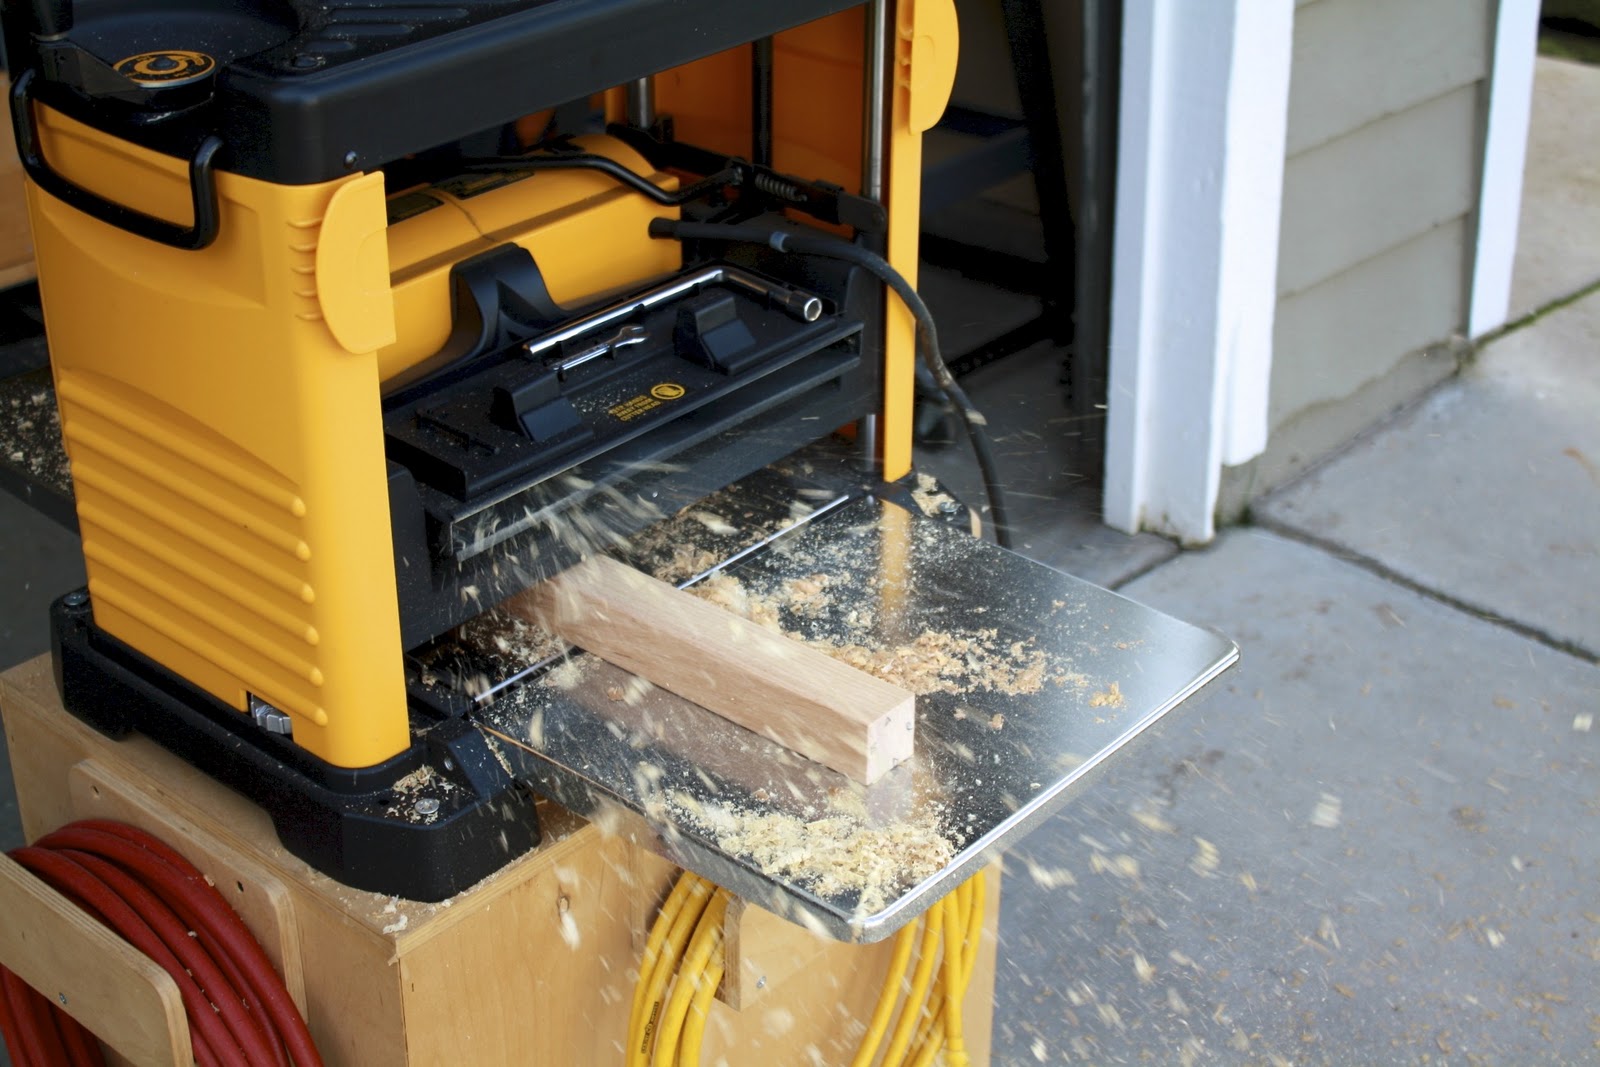
I began by gluing up boards for making the sides. My portable planer isn't wide enough to handle planing and smoothing the wide surfaces. So, I took them to the Clovis Woodshed where they have a wide belt sander that can handle the glued up boards.
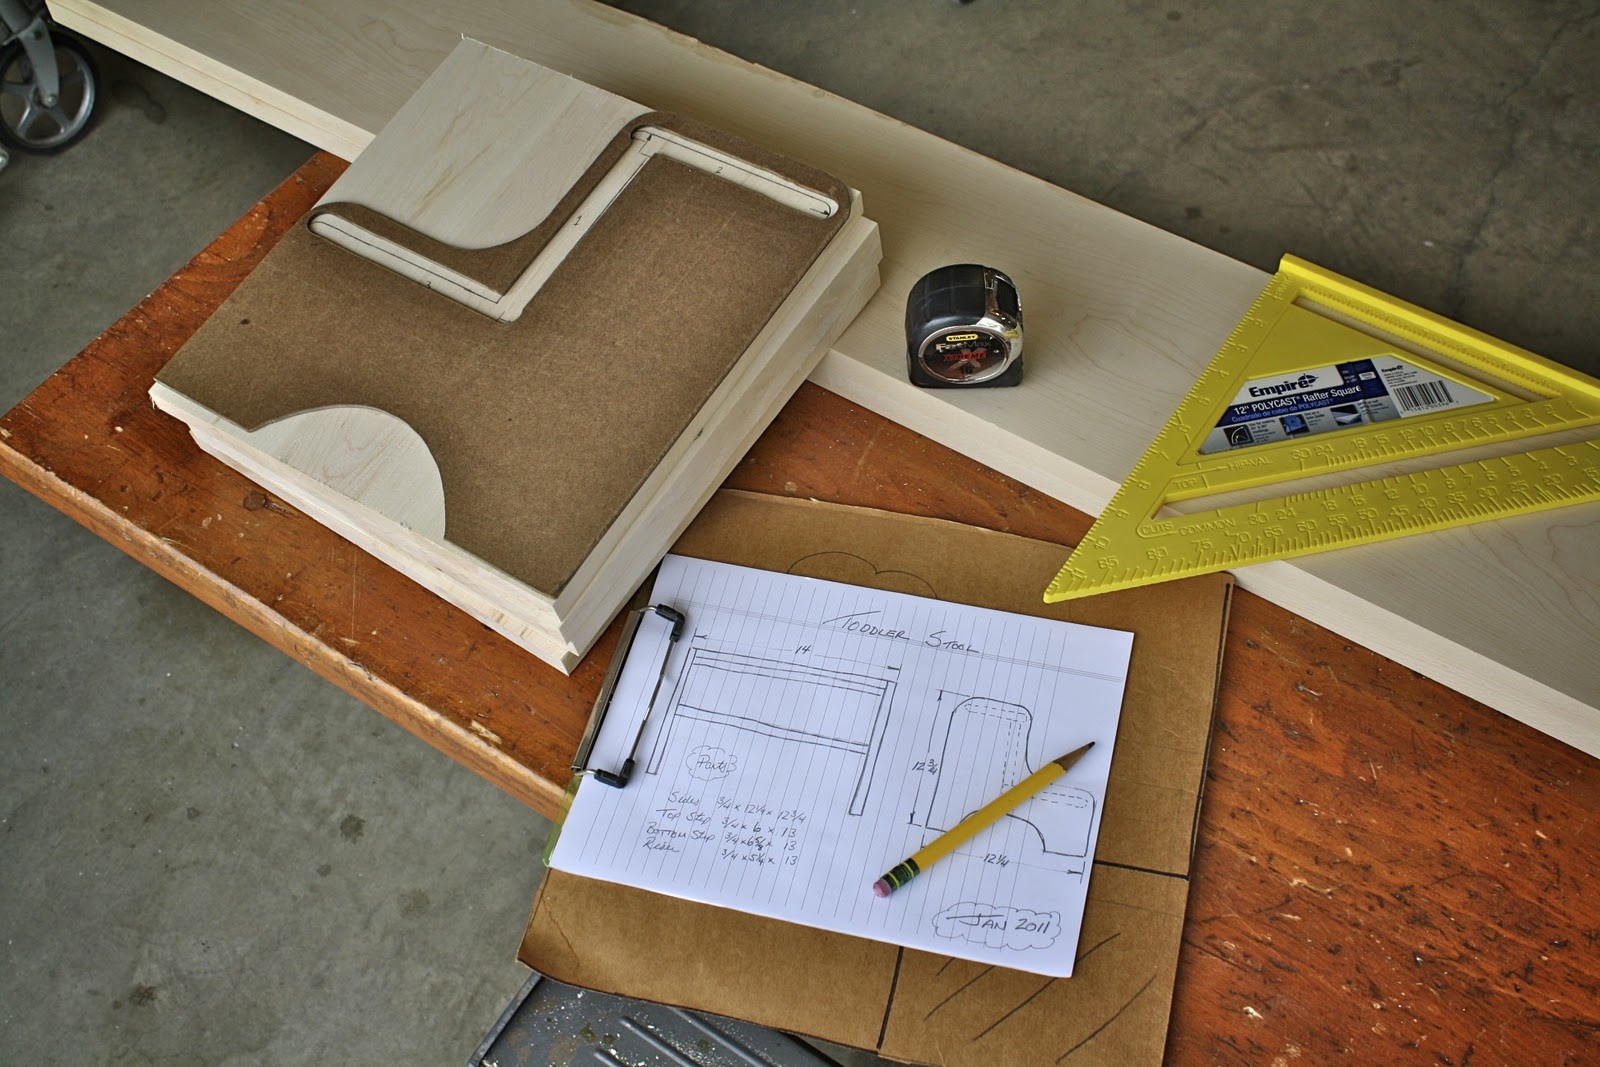
Material for the Four Sides, Steps, and Risers

Once the sides were glued, surfaced, and cut to width and length, the next step was to cut dado joints to accept the step and riser. The dado is a  common joint used to join pieces for strength and alignment. I like to use the router, set up with a straight bit set to a depth of 1/4". Some folks will cut dados 3/8" deep, but I have found 1/4" works as well with less wear and tear on the bit. The width of the dado cut is determined by the thickness of the piece that fits into it. Since the steps and risers are 3/4" thick, I use a 3/4" bit that is .015 oversize. This allows for a snug fit without squeezing the glue out of the joint.

Plunge Router with Straight bit and Support Guide for Cutting Dado Joints

I occasionally make mistakes...  Notice the photo below. Somehow the router came away from the guide and look what happened. Luckily, I had some extra material and was able to fashion another side piece. 

Oops!

Next, the curved edges were freehand cut on the band saw. A little material was left to be trimmed later with a router setup.


Cutting Curves with the Band Saw

Band saw cuts are irregular and not smooth. One method of smoothing out the edges is to use a rasp or file. Another method is attach the pattern to the work piece with double sided  tape and trim the excess material. A flush trim router bit is used in a router that is attached to the router table. The guide bearing at the top of the bit rides along the edge of the pattern while trimming the excess material. This leaves a clean smooth edge.

Edge Trimming Setup

Because the stools were built for toddlers, all the edges were rounded over.

Rounding Over the Side Edges

The names and my signature were laser etched at the yard where I purchase lumber for projects. It's an interesting process that is controlled by a computer and a laser that burns and etches whatever font or size is programed into the computer. Once the process has started, it is completly automated.

Computer and Laser Etching Table Set Up with one of the Parts

Laser Etching

After Sanding all the parts, the next step was assembly. I began by "dry fitting" to be sure all the parts fit. It didn't take very long to realize that gluing, assembling, and clamping five parts at the same time was going to be difficult. After clamping, I added screws for extra strength. The screws were counterbored and wooden plugs glued to hide the screw heads.

The last thing to do was some touch up sanding and finish. With the maple, I wanted a clear satin finish. My friend Jason, at the Clovis Woodshed, recommended using a gel polyurethane. I've heard of these finishes, but never have used one. This finish has the consistency and look of apple jelly. It is the greatest! You simply rub it on with a rag and wipe off the excess with another rag. It's quick, easy, with no runs and drips. I applied three coats and ended up with a nice smooth satin finish.

It Doesn't Get any Easier than this Stuff


The stools turned out great and Rich and Joy loved them. That's Lucy, our doxie checking the quality of my work. By the way, I have to give my wife Susan credit for the hand hold underneath the top step. She felt moms needed a convenient handle for moving and lifting the stools.


Sunday, January 30, 2011

Table for Bose SoundDock

Thad and his fiance, Amy, gave us a Bose SoundDock for Christmas. It's a great gift and my collection of Beatle music has never sounded better. Thad suggested that the SoundDock would be better in an open room rather than in our entertainment center, so I needed to build a small table.

I chose the clean simple design of Shaker furniture. Shaker furniture became popular in the  mid nineteenth century. The Shakers and Quakers designed furniture that represented their life style. It is functional, proportional, and uses joinery such as the mortise and tenon joint without screws and nails. Danish Contemporary furniture design has similar characteristics. I made some measurements, a sketch, and headed to the garage. Luckily, I had some sugar pine on hand that could be used for the project.

Sugar Pine and Sketch
The first step was to glue the table top together. The boards were cut into narrow widths and the growth rings at the ends were alternated. This prevents the table top from warping and cupping. The edges were planed on the jointer for a tight seamless fit. Yellow woodworker's glue and bar clamps were used to join the pieces together. The clamp pressure is the magic that causes the bond that makes the joint stronger than the wood. 

Boards Glued up for Table Top
The next step was to cut the legs, aprons, and the table top to the dimensioned sizes. The table saw was used to rip the finished widths, the power miter saw was used to cut the finished lengths, and the planer smoothed the surfaces. Because the table top was too wide to cross cut with the power miter saw, a sled setup was used on the table saw.

The Legs Planed Square
After all the parts were cut to size, it was time to make the mortise and tenon joint. This joint is commonly used to join the table leg to the table apron. The mortise is the slot in the leg. The tenon is on the ends of the apron. The joint is very strong and requires no screws or nails.

Leg Mortises Cut Using a Straight Router Bit On the Router Table
Apron Tenons Cut On The Table Saw
After the mortises and tenons were cut and checked for proper fit, the legs were tapered.  Shaker furniture craftsmen created an optical illusion of tapered legs by just tapering the inside faces of the legs. This makes the operation easier while creating a graceful delicate table leg. I began by laying out the taper and "rough cutting" it with the bandsaw. I left about 1/16th inch of material that was planed smooth with the jointer.

"Rough Cutting" the taper with the Band Saw. 
The edges of all the parts were rounded over with the router and each piece was sanded with 150 grit garnet sandpaper and then 180 grit. I began the assembly with the legs and table aprons. Glue was applied to the mortise and tenon joint, assembled, checked for square, and clamped.

Leg and Table Apron Assembly
Prior to attaching the top, I applied a pre stain sealer and stain to the leg assembly and table top. I thought this would be easier and provide better coverage. I made a sample board of sugar pine to test different stains I had on hand. I chose Min-Wax Early American Stain. I like the slight reddish walnut color. It highlights the grain with a rich warm tone. After the top was attached, I applied three coats of Tung Oil for the clear finish.

Sample Stain Choices  
The final assembly step was attaching the table top to the leg assembly. There are various ways of doing this. I like to use the method shown below. Grooves were cut on the inside face of the table aprons. Small blocks were cut with a tongue that fit in the slots. The block was then fastened to the bottom of the table top. Glue was not used and the screw holes were drilled slightly larger than the screw diameter. This allows for slight natural movement of wood.

Fastening Table Top to Leg Assembly
The table turned out great and is a nice addition to the family room. We really enjoy using the SoundDock to listen to music.

Finished Table

Sunday, January 2, 2011

SJFWA Christmas Toy Project

 The San Joaquin Fine Woodworkers Association does an ambitious toy making project every year for disadvantaged families. The project begins in the spring and over 3,000 toys are built. From what I hear, it still doesn't  fill the need. Materials and money are donated from service clubs, businesses, and individuals. In addition, fund raisers are done during the year to help raise money. The toys were delivered to various social service agencies and churches for distribution to needy families. It's a huge effort, but very rewarding because it provides youngsters with well made Christmas toys who may not have them.

I was invited to help with the project last September and I volunteered 3 to 6 hours a week. I worked primarily on the doll cradle. I cut, shaped, and assembled so many, that I dream about building them in my sleep. The cradle comes complete with a small quilt done by a local quilters group and a doll.

I really enjoyed working on the project and enjoyed meeting fellow woodworkers who joined together and used their woodworking skills for something that benefits the community.


Monday, November 22, 2010

Box Joint Jig


Box Joint Jig Set Up On Table Saw

I recently built this box joint jig so that I can build small boxes. Box making is an interesting craft because a lot of creativity can be done with different size boxes and woods. Also, it doesn't take a lot of material to build them. I think it is a unique woodworking activity.

The joint is nothing more than small interlocking pins and slots that join the corners of the box for strength and has an interesting look. I have always enjoyed exposed joinery in woodworking. The trick is to match the pins and slots for a perfect fit. Close doesn't count on this one. A unique feature of this jig is that it has a micro adjustment that allows for a perfect fit.

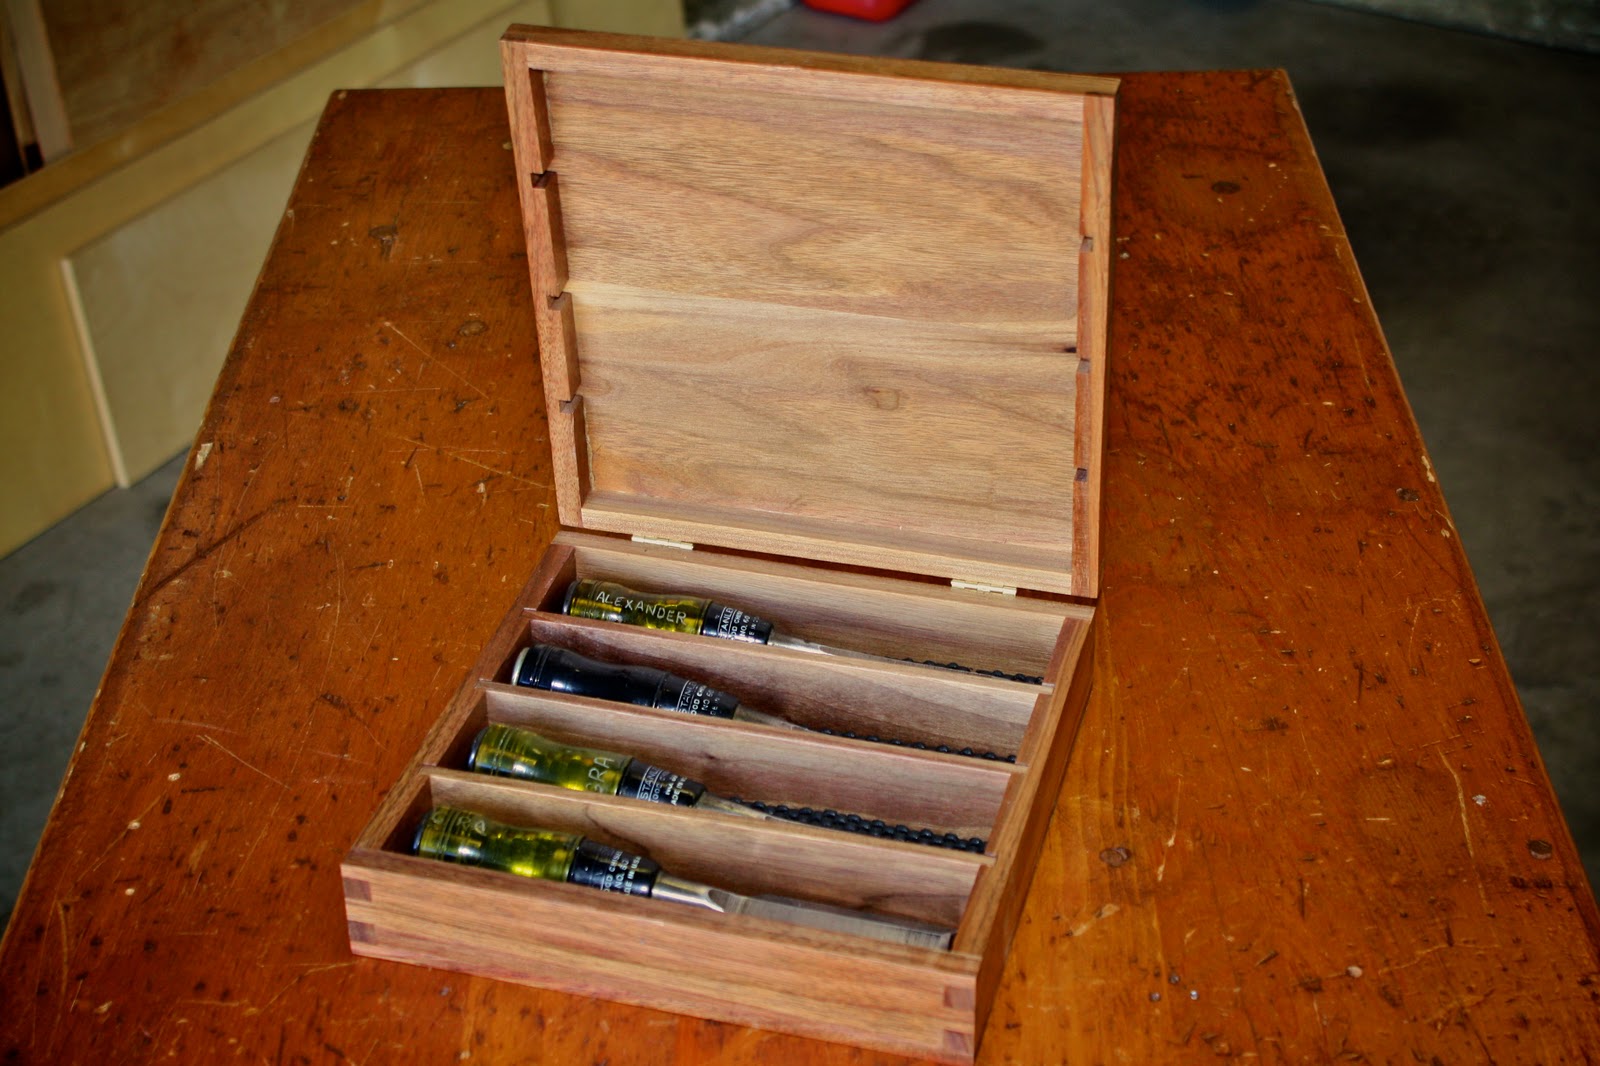
Chisel Box With Box Joints

The jig is used with a table saw and dado head blade set. A router table set up would work too, but I prefer using the table saw. Once the joints are made it is simply a matter of gluing up the box. The joints can be made for any size box. My first box built with the jig was a walnut storage box for my chisels.

Plans and Materials for Project 


The material for the jig was made from 4/4 maple. The hardware kit and plans were ordered from Woodsmith Magazine. I began the project by planning, ripping and crosscutting the parts to size.

Once the parts were cut to size and shaped the next step was assembly and installing the adjustable key mechanism and lock.


Parts Ready for Assembly
Assembling the Key to Adjustable Block

Homemade Guide Rail 
The plans have you use your table saw miter gauge to guide the jig, but if the miter gauge needs to be used for other cutting operations it means changing back and forth. That is a pain to me. A second miter gauge would be expensive, so I fabricated my own.

Box Joint With Perfectly Fitted Pins and Slots
Box Side With Jig Aligned With Key and Dado Blade Set


The rail fits into saw table slot to keep the jig and work piece square to the dado blade set. After the slot is cut it is fitted over the key to keep the pins and slots equally spaced for a perfect fit.

I'm happy the way the jig turned out and it works better than I expected. I look forward to building many unique boxes.

Sunday, July 18, 2010

Walnut Wall Clock 1978

This reproduction walnut wall clock goes way back.  In June of 1978 while I was a student at Fresno State working on my Industrial Arts degree, I took a wood machining class during the summer session.  The class was pretty laid back and only required a project of sufficient difficulty, a drawn plan, and a required number of machining competencies to build it.

I was lucky to find a clock brochure at a shop in Fresno that sold high end clocks of all sorts.  Give me a picture with basic dimensions to keep the proportions correct and I can build it.

This was my first experience working with walnut.  Walnut is a joy to work with... it has it's own natural color and grain pattern.  It machines nicely.  It's expensive, but worth the cost. 

The little buster in the photo is my son, Thad.  He was four at the time and always curious about what I was up to.  He is now 36, living in San Francisco and works for Wells Fargo Trade Bank. He is in a wonderful relationship with Amy and her little Yorkie, Capone.   

Sunday, July 11, 2010

Fireplace Mantle Shelf

I built this fireplace mantle shelf a while ago for a friend.  The material I used is 4/4 poplar. Poplar is a knot free lumber that works easily and takes paint exceptionally well.

The first step is to cut the parts to the dimensioned sizes. After the parts are cut and edges shaped with the router, assembly begins. Because poplar rarely splits, assembly was easily done with the nail gun and woodworkers glue.

The main body is basically a box that is open on the back side. This opening fits on a hanger board that is bolted to the studs on the wall above the fireplace. Careful measuring is done so the box fits on the hanger and is properly aligned and centered with the top of the fireplace.

After careful sanding, I started finishing with a coat of primer. Primer seals the wood and provides an even surface for the finish paint to bond. Two coats of finish paint were sprayed for an attractive durable finish to the mantle shelf.


Ripping lumber to width on the table saw
Assembling with the nail gun and glue.


Assembled shelf prior to finishing.

Brushing primer.


Monday, July 5, 2010

Too Hot in the Garage!

It's been a little warm to be working in the garage.  It's one of the drawbacks of living in Central California.  People say, "at least it's a dry heat"... so is a welding torch!

I plan to post some previous projects completed in the past soon.